


Building a home Yin Yoga practice is straightforward: choose a quiet space, gather a few supportive props, and commit to holding passive poses for two to five minutes each. You do not need a studio, a teacher, or expensive equipment to get started. This guide walks through everything from your first setup to structuring a full session at home.
What do you need to start a Yin Yoga practice at home?
To start a Yin Yoga practice at home, you need a non-slip mat, one or two supportive props such as a bolster or blanket, a quiet space, and about 45 to 60 minutes of uninterrupted time. Yin Yoga is one of the most accessible styles precisely because it relies on stillness and support rather than strength or flexibility.
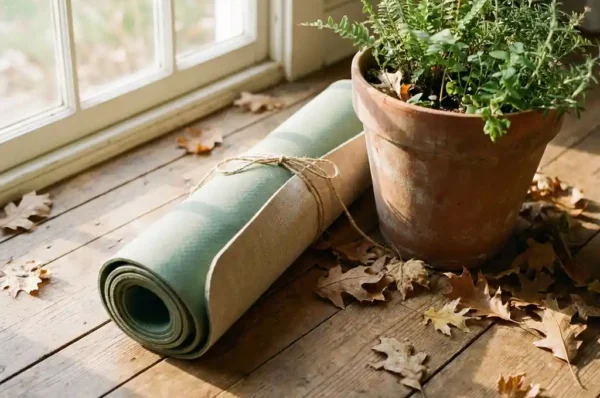
The mat you choose matters more in Yin than in faster styles because you spend long stretches lying or sitting directly on it. A grippy, cushioned surface protects your joints and keeps you comfortable during extended holds. Our natural rubber yoga mat works well for this, offering both grip and gentle padding without synthetic materials.
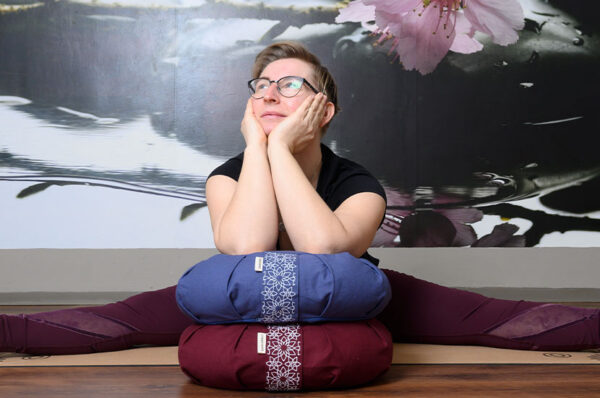
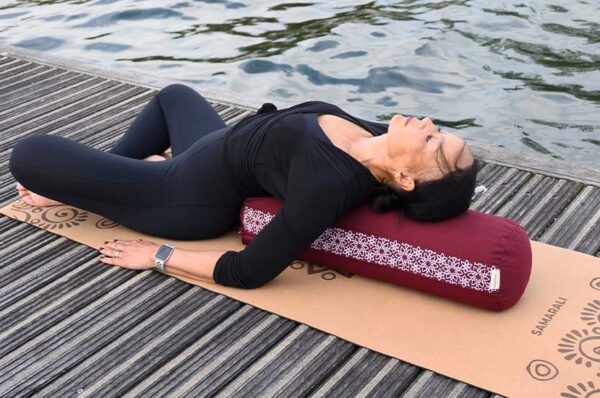
Beyond the mat, props are what make Yin Yoga feel genuinely restorative rather than uncomfortable. A yoga bolster is the single most versatile tool you can own for a home Yin practice. It supports the spine in reclined poses, opens the chest in heart openers, and elevates the hips in seated forward folds. A folded blanket serves as a secondary prop for padding under knees, ankles, or the head. If you want to go deeper, a meditation cushion under the hips in seated poses helps tilt the pelvis forward and reduce lower back strain.
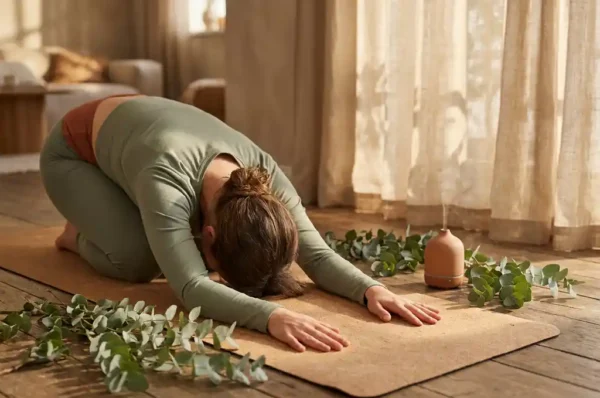
Finally, create the right atmosphere. Dim the lights, silence your phone, and consider playing soft ambient music or nature sounds. Yin works on the nervous system as much as the body, so the environment you practice in directly shapes how deeply you can relax.
How long should you hold Yin Yoga poses?
In Yin Yoga, most poses are held for two to five minutes, with advanced practitioners sometimes staying in a single pose for up to ten minutes. The duration is intentional: the long holds apply gentle, sustained stress to the connective tissues, including fascia, ligaments, and joint capsules, which respond to slow, steady pressure rather than the dynamic movement of more active yoga styles.
For beginners, starting at two minutes per pose is the right approach. Two minutes is long enough to feel a genuine stretch through the deeper tissues without overwhelming the nervous system or creating unnecessary discomfort. As your body adapts over weeks of regular practice, you can gradually extend holds to three or four minutes.
A useful guideline is to distinguish between sensation and pain. In a Yin hold, you should feel a moderate, dull stretch that you can breathe into. If you feel sharp, pinching, or electric sensations, come out of the pose and use more props to reduce the intensity. The goal is to find what Yin teachers call your “appropriate edge,” a place of meaningful sensation where the body can relax and release rather than brace and resist.
Use a timer so you are not watching the clock. Even two minutes can feel surprisingly long when you are new to stillness, and a timer removes the mental distraction of guessing how much time has passed.
Which Yin Yoga poses are best for a beginner home routine?
The best Yin Yoga poses for beginners are those that target the hips, lower back, and spine, as these are the areas where most people carry the most tension. A short list of accessible starting poses includes Butterfly, Dragon, Sphinx, Sleeping Swan, and Legs Up the Wall. Together, they cover the major connective tissue lines of the lower body and back without requiring deep flexibility.
- Butterfly: Sit with the soles of your feet together and fold gently forward. This stretches the inner groin, lower back, and spine. Place a bolster on your legs and rest your torso on it to make the pose fully supported.
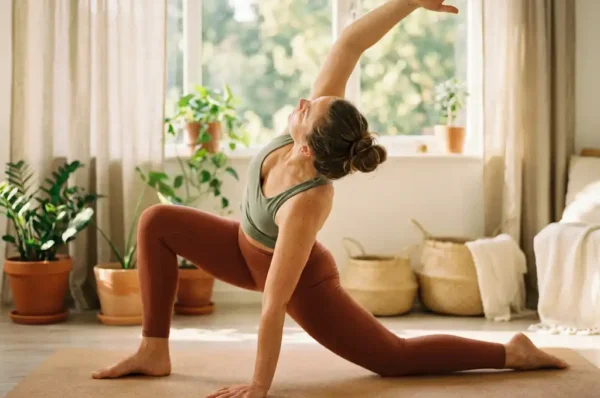
- Dragon (Low Lunge): Step one foot forward into a low lunge and sink the hips toward the floor. This targets the hip flexors and quadriceps, areas that tighten significantly from prolonged sitting.
- Sphinx: Lie on your stomach and prop yourself on your forearms. This gentle backbend compresses the lumbar spine and stimulates the sacral region, making it especially useful for people with lower back stiffness.
- Sleeping Swan: From a tabletop position, bring one knee forward toward the same-side wrist and extend the back leg behind you. This is a deep hip opener targeting the piriformis and outer hip. Use a bolster or folded blanket under the front hip if needed.
- Legs Up the Wall: Lie on your back and extend your legs vertically up a wall. This is a restorative pose that calms the nervous system and gently stretches the hamstrings. It makes an ideal closing pose for any session.
These five poses give you a complete, balanced beginner routine that you can practice with minimal experience and minimal props.
How do you structure a Yin Yoga session at home?
A home Yin Yoga session follows a simple three-part structure: a short settling period, a sequence of five to eight poses targeting complementary areas of the body, and a final rest in Savasana. A complete session can run anywhere from 30 minutes to 75 minutes depending on how many poses you include and how long you hold each one.
Start by lying down or sitting quietly for two to three minutes before your first pose. This transition period signals to the nervous system that the practice has begun and helps you arrive mentally as well as physically. Take a few slow, deliberate breaths and notice where you feel tension in the body. This brief check-in also helps you decide which areas to focus on in your sequence.
For the main sequence, work through the body in a logical order. A common approach is to begin with poses that warm up the spine gently, move into deeper hip and groin openers in the middle of the session, and finish with more restorative, passive poses as the body softens. For example, you might open with Sphinx, move into Dragon on both sides, follow with Butterfly, then Sleeping Swan, and close with Legs Up the Wall before Savasana.
Between poses, take a minute in a neutral position to let the tissues rebound. This recovery time, sometimes called a rebound, is considered an important part of Yin practice because it allows you to notice the residual sensation left by the pose before moving on.
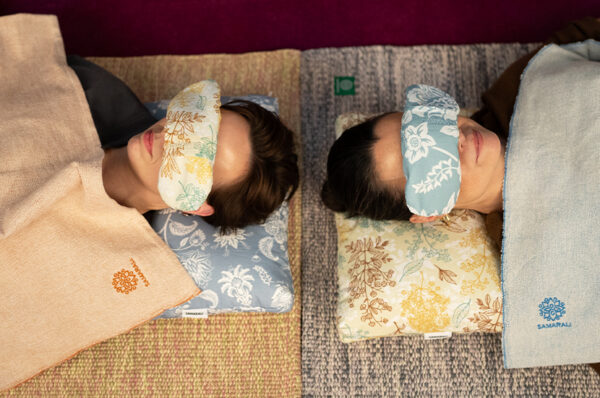
End every session with at least three to five minutes of Savasana, lying flat on your back with your eyes closed. An organic cotton yoga blanket draped over the body helps maintain warmth during this final rest, which supports the nervous system in completing its shift toward a more relaxed state.
Consistency matters far more than duration. A 30-minute Yin session practiced three or four times a week will produce noticeable changes in flexibility, stress levels, and joint mobility over time, making it one of the most rewarding home practices you can build.
Frequently Asked Questions
Can I practice Yin Yoga every day, or do I need rest days?
You can practice Yin Yoga daily, but it is wise to vary the areas of the body you target from session to session to allow connective tissues time to recover. Unlike more intense styles of yoga, Yin places minimal stress on muscles, so daily practice is generally safe for most people. If you notice persistent soreness or joint discomfort, scale back to three or four sessions per week and give the affected area a day or two to rebound before targeting it again.
What should I do if I can't stay still for the full hold time?
Restlessness during long holds is extremely common, especially in the first few weeks of practice. Rather than forcing stillness, try focusing on your breath by counting slow inhales and exhales, which gives the mind a gentle anchor. If physical discomfort is the issue, add more props immediately — a bolster, folded blanket, or cushion under the relevant joint can transform an unbearable hold into a genuinely comfortable one. Over time, your nervous system adapts and the stillness becomes easier.
How do I know if I'm going too deep into a pose and risking injury?
The key warning signs are sharp, stabbing, or electric sensations, particularly around joints, and any feeling of pinching or compression in an unintended area. A safe Yin sensation should feel dull, diffuse, and breathable — something you can relax into rather than brace against. If you experience any of the warning signs, come out of the pose immediately and reposition with more prop support to reduce the range of motion. When in doubt, less depth is always the safer and more effective choice in Yin practice.
Do I need to warm up before a Yin Yoga session?
Unlike dynamic yoga styles, Yin Yoga does not require a traditional warm-up because the practice is intentionally designed to work on cool, relaxed muscles rather than warmed-up ones. Working into connective tissue is actually more effective when the muscles are not pre-heated, as the sustained, gentle load reaches the deeper fascial layers more directly. However, if you are practicing in a cold environment or feel very stiff, a few minutes of gentle walking or light movement beforehand can help you settle into your first pose more comfortably.
How do I choose which poses to include if I want to target a specific area like tight hips or a stiff lower back?
Start by identifying the primary area of tension and then select two or three poses that approach that area from different angles. For tight hips, a combination of Dragon (targeting hip flexors from the front), Sleeping Swan (targeting the outer hip and piriformis), and Butterfly (targeting the inner groin) covers the full hip complex effectively. For a stiff lower back, Sphinx, a supported Caterpillar forward fold, and Legs Up the Wall work well together. Keeping a simple practice journal noting which poses brought the most relief can help you refine your personal sequence over time.
Can I use household items instead of buying yoga props?
Absolutely — most standard yoga props have effective household equivalents. A firm sofa cushion or tightly rolled bath towel can substitute for a bolster, a folded duvet or thick blanket works in place of a yoga blanket, and a stack of hardcover books can stand in for a yoga block. The only prop worth investing in early on is a quality non-slip mat, since improvised surfaces can shift during long holds and disrupt your focus. As your practice deepens and you use props more frequently, purpose-built options like a dedicated bolster become worthwhile for their shape, firmness, and durability.
How soon can I expect to notice results from a regular home Yin practice?
Most practitioners notice improvements in flexibility and a reduction in general tension within two to four weeks of consistent practice, typically three or more sessions per week. Changes to connective tissue take longer than muscular changes because fascia and ligaments have a slower metabolic rate, so meaningful structural improvements in joint mobility and range of motion are more noticeable after six to twelve weeks. Beyond the physical, many people report improvements in sleep quality and stress levels within the first few sessions, as Yin’s long holds actively engage the parasympathetic nervous system.
Ready to build your home Yin practice with the right support? At Samarali, you will find everything you need to make each session feel genuinely restorative. From a natural rubber yoga mat that keeps you grounded during long holds to a yoga bolster and an organic cotton yoga blanket for full-body support and warmth, our collection is thoughtfully put together for practitioners who value quality and comfort. Shop the yoga collection now and set up your perfect Yin space at home.